
How to Set Up & Use AntiMicro/AntimicroX to Play Games with a Joystick
AntiMicro/AntimicroX is an input mapper that helps you play PC games with your controller and joysticks by mapping the buttons and stick movement to keyboard and mouse actions. Since many people now install AntiMicroX instead of the older AntiMicro version, this guide covers both. AntiMicroX works the same way but is newer, stable, and still maintained. The steps below apply similarly, and any screen differences are minor. If you are using it for the first time, here’s how to set up and use AntiMicro/AntimicroX to play games with a joystick.
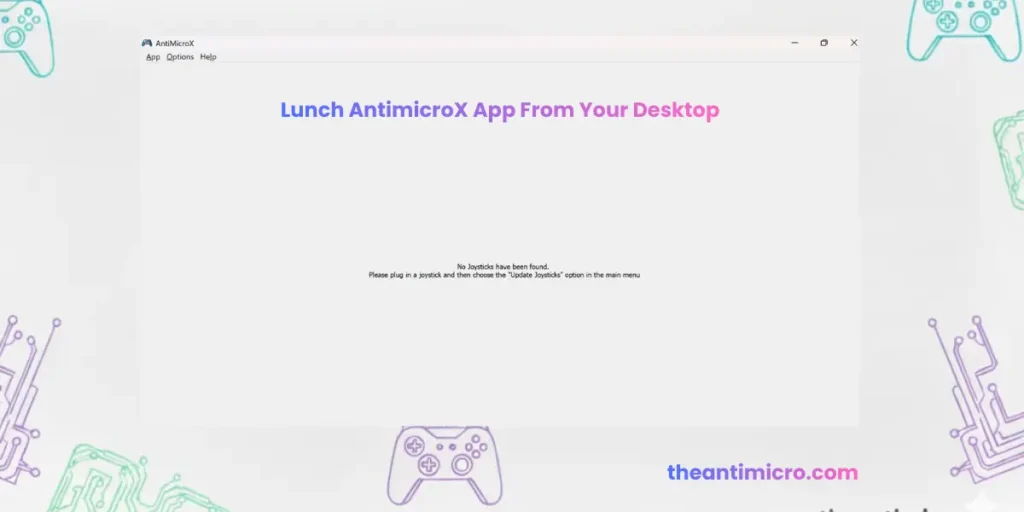
Step 1: Download and Launch AntiMicro/AntimicroX
“No joysticks have been found.”
If AntiMicro is still showing “No controller detected” or isn’t responding even after you’ve connected the controller, don’t worry, this is pretty common and usually means one of these things:
- Your controller isn’t plugged in properly.
- The controller needs drivers to work on your PC.
Step 2: Run AntiMicro/AntimicroX as Administrator
Before doing anything else, make sure you’re running AntiMicro or AntimicroX as an administrator. This gives it permission to properly detect and interact with your input devices.
To do that:
If you start to run this program without administrative permission, it will show you a reminder message at the bottom of the window.
Simply click on that message, and a permission dialog box will appear asking you to confirm running it as an administrator.
Click “Yes” to confirm it.
Step 3: Plug In Your Controller the Right Way
Make sure your controller is:
After that, go back to AntiMicro.
This tells the program to search again for connected controllers. If it’s working, you’ll now see a bunch of button labels and joystick areas appear on the screen. That means your controller has been detected successfully.
Step 4: Using a Joystick in a Game That Doesn’t Support It
Once your controller is detected, you’ll see different buttons and joystick areas light up when you move or press things. Let’s say you want to use the left stick to move your character, just like you would with the W, A, S, D keys on a keyboard.
Here’s how you can do that:
Now your stick will act like movement keys in any game.AntiMicroX also handles analog triggers better, especially on Xbox and Switch controllers.
Step 5: Extra Settings for the Stick (Optional)
If the stick feels too sensitive or too slow, you can fine-tune it in the following way.
Click on the “L Stick” tab and adjust:
Play around with these until you are satisfied that the joystick movements are now in your control.
Step 6: Map Controller Buttons to Keys
You can also make your controller buttons act like keys. For example:
If you want a key to act like a toggle, press once to crouch, press again to stand. You can do that too:
Step 7: Combine Keys (like Shift + L)
For some games, you have to press two keys at once, like Shift + L, to turn on a flashlight. You can assign that to a single controller button:
You can even set it to do multiple presses, quick taps, or toggle on/off actions. This is helpful for games where you have to play with fast combos..
Step 8: Save Your Profile
Once everything is set up the way you like:
If you use more than one controller, you can save a different profile for each one and load them later whenever you need. In AntiMicroX, you can create game-specific profiles and keep them separate. Many players make profiles like FPS Layout, Driving Layout, Retro Layout, or per-game files.
Step 9: Don’t Forget to Close AntiMicro/AntimicroX When You’re Done
AntiMicro/AntimicroX runs in the background and will keep sending key presses even when you’re not playing. So after your gaming session, don’t forget to close it completely, otherwise it might start typing keys when you don’t expect it.
Note About Generic or Unrecognized Controllers
How to set up & use Antimicro/AntimicroX for your PC games using a joystick guide is best for Xbox, PlayStation, or Switch Pro controllers, since those are usually recognized automatically.
But if you’re using a generic or unknown brand controller like a cheap USB gamepad, AntiMicro might not detect it right away. If that happens, then you’ll need to create a custom mapping so your controller works properly.
There’s an official guide on how to do that here:
How to Add a New Game Controller Mapping on AntiMicro (GitHub)
It explains how to manually set up a mapping so your controller behaves like a supported one.
Conclusion
Overall, AntiMicro and AntiMicroX follow the same mapping method, so any player can rely on either version to set up controller inputs for unsupported games. AntiMicro is the older build, and AntiMicroX is the updated fork with better stability, modern controller support, and minor interface improvements. Now that you’ve learned how to use AntiMicro and AntiMicroX, you can map any controller properly and play PC games that don’t include built-in joystick support.